
Don’t Be Afraid of Your Toolbar Part 2: How to Format Images in WordPress
The PARAGRAPH toolbar, which I talked about in a previous post, comes up when you click the PLUS SIGN to create a text/paragraph block in WordPress. (See Image below.)
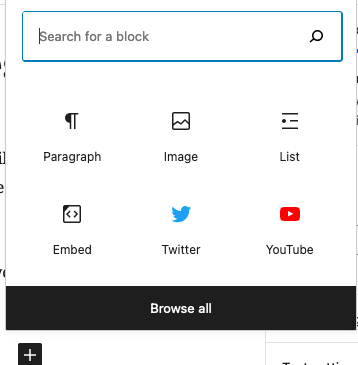
When you select IMAGE instead of PARAGRAPH, however, you’re going to get a different toolbar that looks like this.

So let’s start at the beginning. You have to have an image to add. This image should be your own image (a photo or a graphic you’ve made) because it’s illegal to steal other people’s work and also using your own work will make your blog look like your own. If you can, resize your image if it is very large (500-1000 pixels is fine for web) but you will also have a chance to resize the image once you’ve uploaded it.
When you go to add an image, a new box pops up that looks like this:
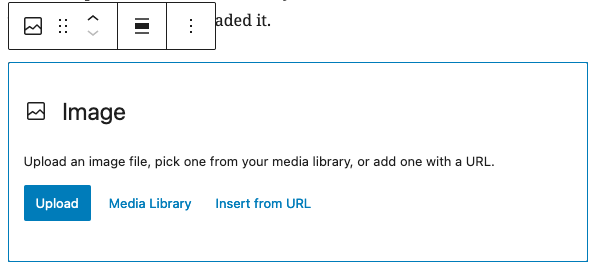
Click UPLOAD and select your image from your computer. (Select from MEDIA LIBRARY if you’re using an image you’ve uploaded to your website already.)
And your image should appear like magic.
But what if you want to make changes to the way the image looks on your site?
Time to explore the tool bar!
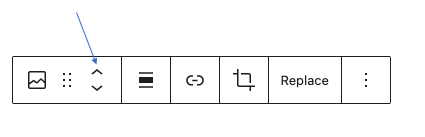
Use the arrow keys to move your IMAGE BLOCK up and down between the the other blocks in your post.
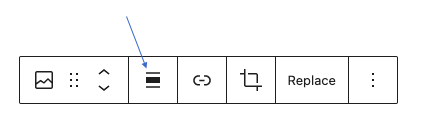
Use the alignment key to centre your image or align it with either of your margins.

*If you would like to embed your image within a block of text (as I am doing in this paragraph, as opposed to above where the image is centred), you will often have to resize the photo down, but that’s easy to do. Do you see the SETTINGS menu on the right-hand side of your screen? (If it’s not visible, it should appear when you click the button that looks like a cog on the top right-hand size of your screen.) The menu will be different based on what kind of block you’re working on (PARAGRAPH, IMAGE, etc.) If Image is selected and you scroll down on that menu, you should see something like this:
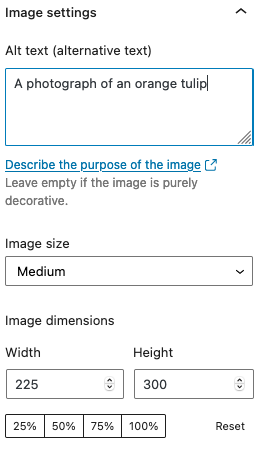
The options for IMAGE SIZE are “Thumbnail” (very small!), “Medium” and “Large.” I selected MEDIUM for this image, and then I clicked the alignment key in my toolbar, selected RIGHT, and the image was embedded automatically.
*You can see that I also added ALT TEXT to make my site more accessible to users with visual impairments!
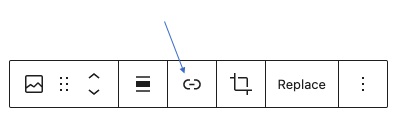
Use the LINK button to add a link to your image, if that makes sense for you to do. Users are usually compelled to click on interesting images. I often blog about books and when I use an image of the book’s cover, I will usually add a link in the image to where the book can be purchased. When you click on the link button, a space will appear for you to paste the URL to where your link will direct.
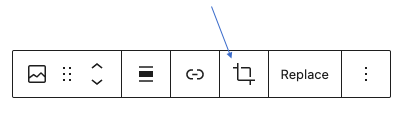
The final button is EDIT. I don’t typically edit my images in WordPress, and feel more comfortable doing it with other software, but you can play around here and see what happens.
If everything goes wrong, remember that pressing COMMAND Z on a Mac or CONTROL Z on a PC will take you back a step so that you can get unsnarled—always good advice to remember.
Have fun!