
Don’t Be Afraid of Your Toolbar Part 2: How to Format Images in WordPress
The PARAGRAPH toolbar, which I talked about in a previous post, comes up when you click the PLUS SIGN to create a text/paragraph block in WordPress. (See Image below.)
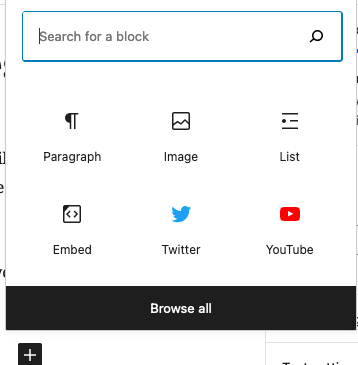
When you select IMAGE instead of PARAGRAPH, however, you’re going to get a different toolbar that looks like this.

So let’s start at the beginning. You have to have an image to add. This image should be your own image (a photo or a graphic you’ve made) because it’s illegal to steal other people’s work and also using your own work will make your blog look like your own. If you can, resize your image if it is very large (500-1000 pixels is fine for web) but you will also have a chance to resize the image once you’ve uploaded it.
When you go to add an image, a new box pops up that looks like this:
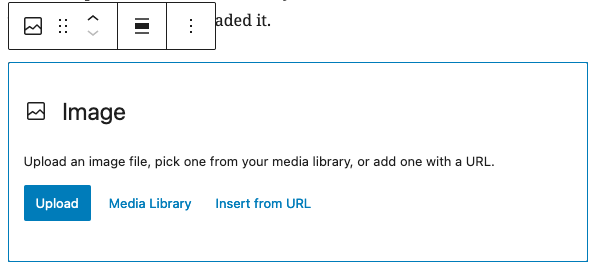
Click UPLOAD and select your image from your computer. (Select from MEDIA LIBRARY if you’re using an image you’ve uploaded to your website already.)
And your image should appear like magic.
But what if you want to make changes to the way the image looks on your site?
Time to explore the tool bar!
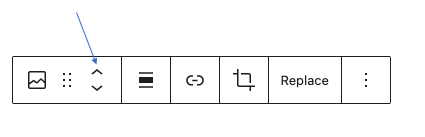
Use the arrow keys to move your IMAGE BLOCK up and down between the the other blocks in your post.
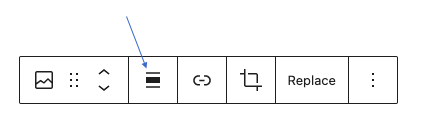
Use the alignment key to centre your image or align it with either of your margins.

*If you would like to embed your image within a block of text (as I am doing in this paragraph, as opposed to above where the image is centred), you will often have to resize the photo down, but that’s easy to do. Do you see the SETTINGS menu on the right-hand side of your screen? (If it’s not visible, it should appear when you click the button that looks like a cog on the top right-hand size of your screen.) The menu will be different based on what kind of block you’re working on (PARAGRAPH, IMAGE, etc.) If Image is selected and you scroll down on that menu, you should see something like this:
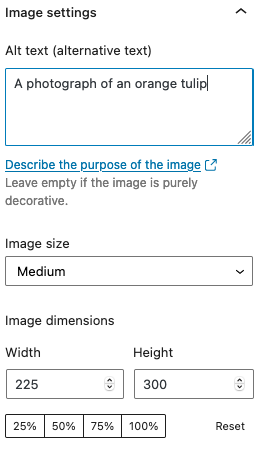
The options for IMAGE SIZE are “Thumbnail” (very small!), “Medium” and “Large.” I selected MEDIUM for this image, and then I clicked the alignment key in my toolbar, selected RIGHT, and the image was embedded automatically.
*You can see that I also added ALT TEXT to make my site more accessible to users with visual impairments!
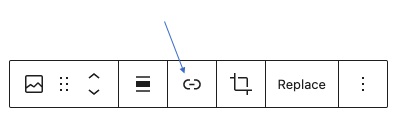
Use the LINK button to add a link to your image, if that makes sense for you to do. Users are usually compelled to click on interesting images. I often blog about books and when I use an image of the book’s cover, I will usually add a link in the image to where the book can be purchased. When you click on the link button, a space will appear for you to paste the URL to where your link will direct.
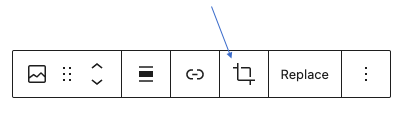
The final button is EDIT. I don’t typically edit my images in WordPress, and feel more comfortable doing it with other software, but you can play around here and see what happens.
If everything goes wrong, remember that pressing COMMAND Z on a Mac or CONTROL Z on a PC will take you back a step so that you can get unsnarled—always good advice to remember.
Have fun!
Don’t Be Afraid of Your Toolbar Part 1: How to Add Links in WordPress
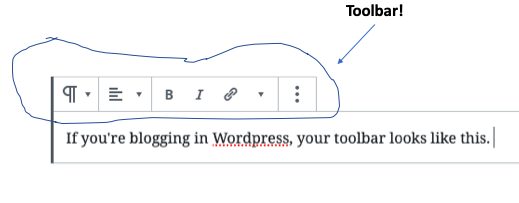
If you’re blogging in WordPress, your toolbar will look like Image 1 below. The toolbar will appear automatically when you start typing in a text box. If you are blogging using other platforms, there will be something that’s analogous, and if you’ve ever used a Word-processing program, then you know how to use most of these tools already.
And unlike many things associated with technology that have stupid names, the toolbar’s name actually makes sense. It’s full of things that really are useful. You can use these tools to add numbered or bulleted lists, to add links, or to format your text with bold and underlining and more.
I encourage you to play around with your tools and find out what they can do. Sit down and create a new post, add some text and then see what the different buttons mean. Find out how they work and how you can use them. This will be a post that you delete instead of publish, so it doesn’t even matter if everything goes wonky.
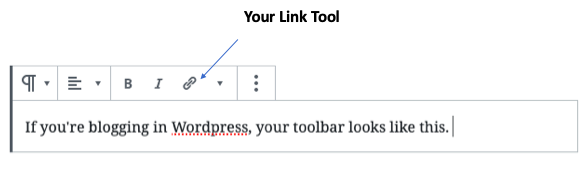
A very useful tool in your toolbar and one that you might not be as familiar with from word processing is the tool that allows you to place links in your blog posts, pointing your reader to interesting places around the internet. And this link tool (see below, Image 2) is the tool we will be focusing on today!
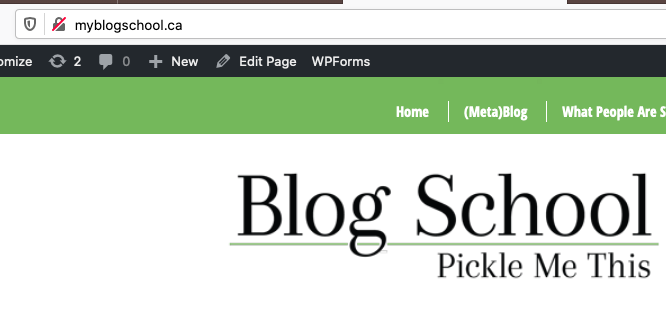
Now first, before you use your tool to add a link to your post, you need the website address you’re going to link to, the URL. The URL for THIS website, for example, is https://myblogschool.ca. You need this information to add the link to your post. And while you CAN go to the link tool in your blog post and type out the entire URL yourself, this can be time consuming and it’s easy to make mistakes. A shortcut is directly copying and pasting the URL from the webpage itself.
Do you see at the top of this webpage where the URL is listed? (Image 3 for an example).
What you do next is use your cursor to select the URL in the window at the top of the page you want to link to. (You can have this page open in a different window than the one you’re composing your post in.) Once the entire URL is selected, you can copy the text to your computer’s clipboard. You can do this two ways: click on EDIT in the menu at the top of your browser and select “COPY.” Or, if you have a MAC, hold COMMAND and press C. And if you have Windows computer, hold CONTROL and press C. Once you have done either of these, the text will be stored on your computer and you’re ready to use the link tool.
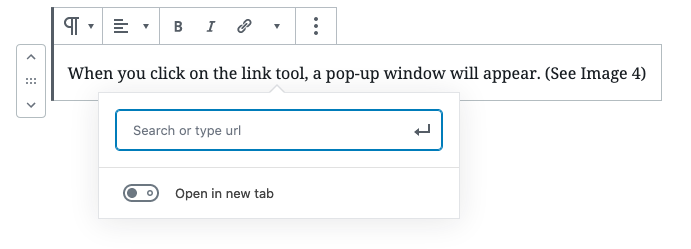
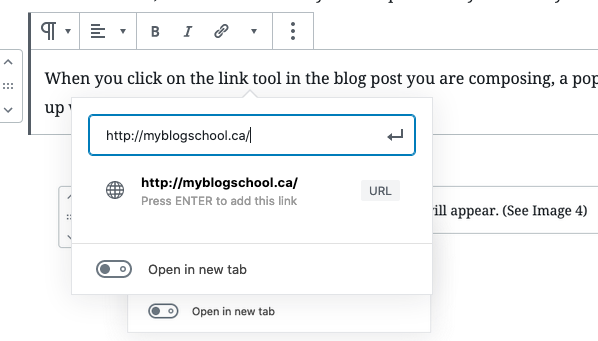
And now back to the blog post you are composing. First, use your cursor to highlight the text you want the link to appear in, then click the link tool, which will make a pop-up window appear. (See Image 4)
Inside the box that appears, you paste the text you just copied to your computer’s clipboard. You do this by clicking inside the text box and then using the same process you used to copy the text but with paste (either using EDIT in the menu at the top of your browser and clicking PASTE, OR with shortcuts [COMMAND and press V in Mac, or CONTROL and press V in Windows]).
See example Image 5 below.
Once the URL is pasted and you’ve pressed ENTER, your link will appear in your post. If you need to remove your link or change the URL you’ve linked to, use the same process with the link tool I’ve outlined here.
Go here for a version of this text that you can print out for future reference.
Happy linking! May you take your readers to good places.